Angel Modeling
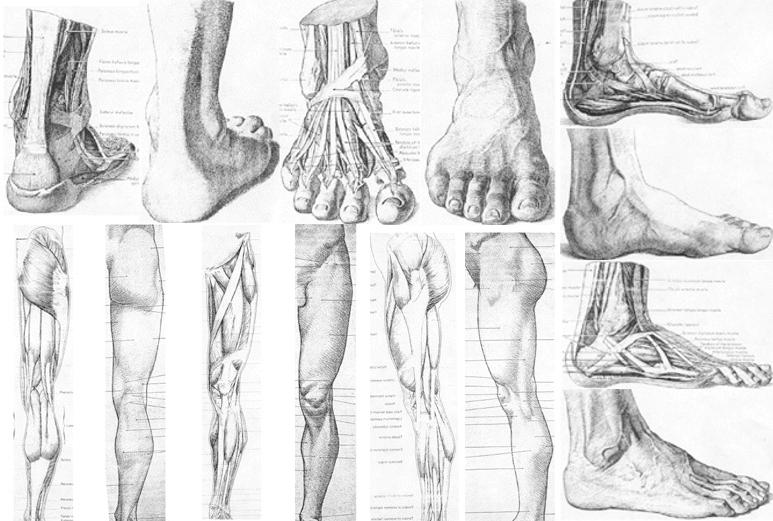
To prepare for the modeling sessions of the angel I did thorough anatomy research and came up with images that were both of the skin surfaces and the underlying muscle structure.
All modeling backplates were aligned in Photoshop. Inside Maya I set up a blender node so I could have two images (surface and muscle) on each camera’s image plane. Creating MEL shelf buttons for switching or blending between the muscle structure and the surface images, allowed for a smooth workflow.
Below are some useful titles of books that provide excellent reference images and anatomical images of the human body:
- Drawing Of The Hand And It’s Anatomy – Henninger
- Anatomy And Drawing – Perard
- Illustrated Anatomy Of The Head And Neck – Fehrenbach
- An Atlas Of Anatomy For Artists – Schider
- Anatomy For the Artist – Barcsay
- Artistic Anatomy – Richer
Looking at the research material, especially at the muscle structure of the various body parts, you find how the isoparms needs to be aligned on your model in order to enable future deformations to be proper. Also, look for points on the body where deformation is not needed [where there’s little muscle movement and what the scenes shots wont encompass]; those will be the location of surface corners.

Using patch modeling, I treated the various surfaces with lattices, stitching, artisan, attach, align, and individual CV-pulling. The key to the process is to:
- Rebuild the surfaces 0to#Spans (matching the number of isoparms between the different surfaces)
- Keeping the normals facing the same way.
- Making sure the U and V directions match up.
As long as those requirements are met, you can model NURBS patch surfaces that gives the illusion of being one entity. To ensure smoothness it’s nice to model with high display quality and use hardware lighting showing any high-contrast areas.
There’s really not much more to it than that and looking closely at the reference material and spending some time with it. When the surfaces look finished we rendered out pans around the body parts with rotating directional lights to find even the slightest surface errors – correcting them with further stitching or whatever treatment you prefer.

IMPORTANT: Before rendering you must select all surfaces, open up the Attribute Spreadsheet, and setting curve tolerance to highest quality and smooth edge to on – otherwise the alignment of the surfaces will not be optimal. This does not increase render times much.

